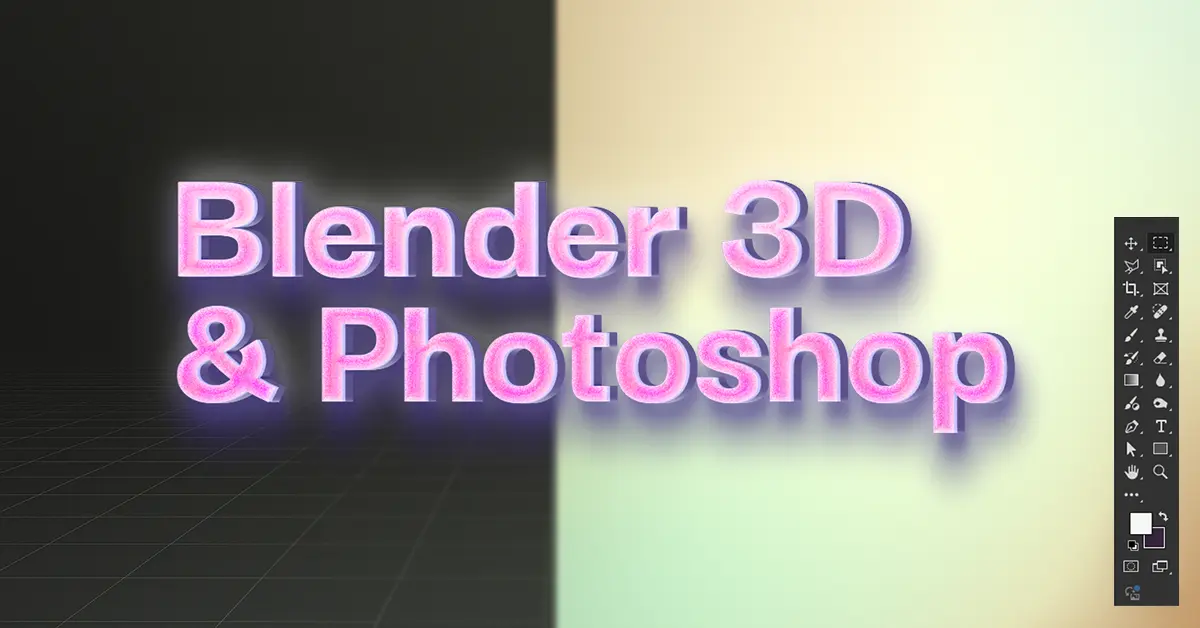
When it comes to digital design, the right combination of tools can boost your creative workflow to new heights. Blender 3D and Adobe Photoshop are two industry-leading programs that, when used together, create a powerhouse workflow for 3D artists, graphic designers, and content creators.
Whether you’re building product mockups, concept art, animations, or game assets, understanding how to use Blender and Photoshop together can greatly improve your output.
Why Use Blender and Adobe Photoshop Together?
While Blender 3D is an open source, free 3D creative modeling software for sculpting, texturing, and animation, Adobe Photoshop is industry-standard software for color correction and grading, compositing, and finishing touches within raster-based editing.
Here’s what makes them such a perfect pair:
Blender handles 3D tasks like modeling, lighting, and rendering
Photoshop enhances your renders with post-processing, effects, and design elements
You get complete control from concept to final image
How To Use Blender 3D and Adobe Photoshop in a Workflow
Let’s break down a typical Blender 3D + Adobe Photoshop workflow:
1. Design & Model in Blender
Start by building your 3D model in Blender. It could be a product, character, environment, or abstract form. Blender’s powerful modeling tools allow you to sculpt or construct complex shapes with ease.
Tip: Use Blender’s Cycles or Eevee render engine depending on your quality and speed needs.
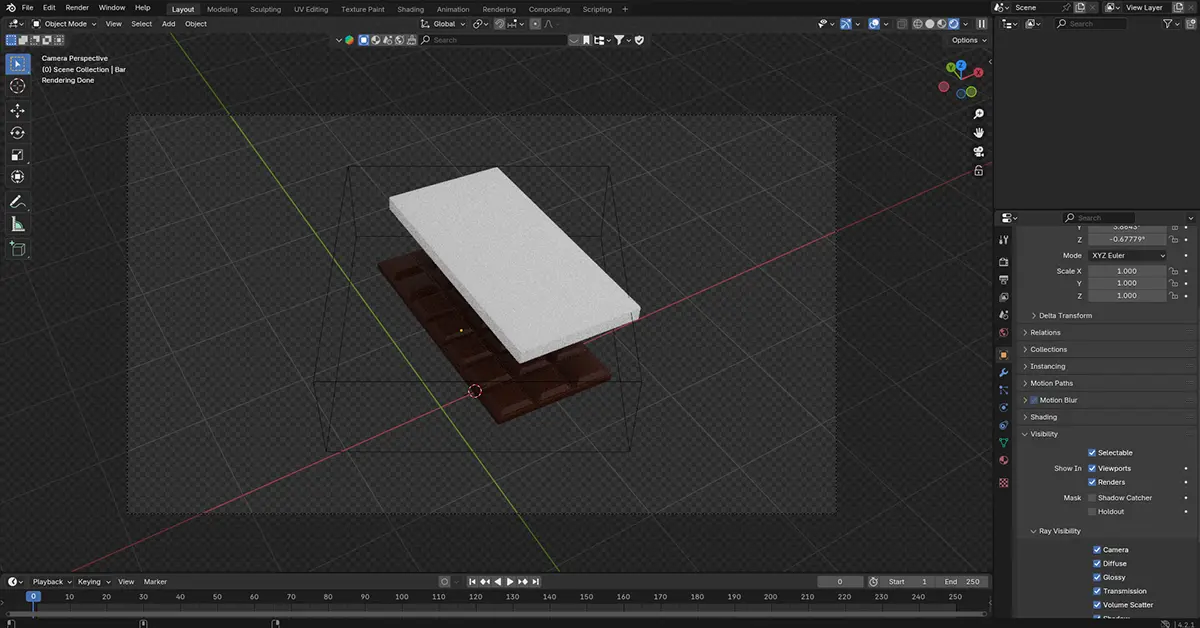
2. Set Lighting & Camera Angles
Lighting is key. Set up your lights and cameras in Blender to get the best shadows, highlights, and reflections. Experiment with HDRIs for realistic lighting or dramatic effects.
3. Render Out Image Sequences or Still Frames
Once satisfied, render out high-res stills or animation sequences (PNG or EXR files recommended). You can also render passes like:
Diffuse
Specular
Shadow
Ambient Occlusion
Normal maps
These help with flexible editing in Photoshop later.
4. Import Into Photoshop for Post-Processing
Now, bring your renders into Photoshop. Here’s what you can do:
Color correction and grading
Add textures or overlays
Composite multiple render passes
Paint over or retouch elements
Add text, graphics, or branding
Tip: Use adjustment layers and layer masks for non-destructive edits.
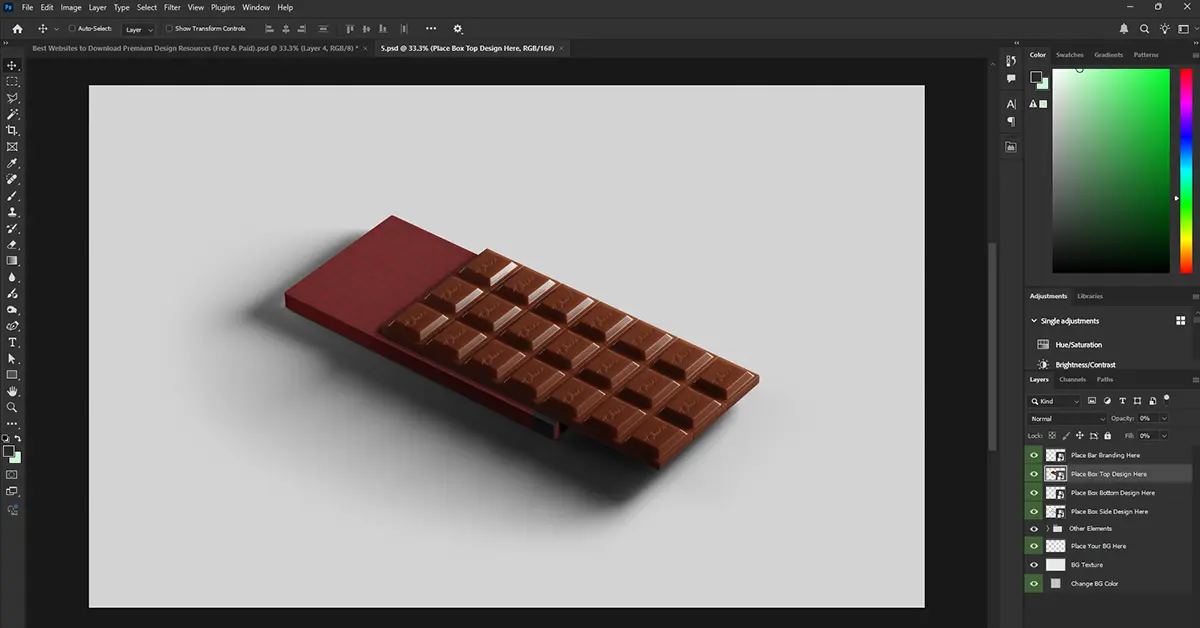
Check out this Chocolate Bar Box Packaging Mockup Template we used in the demo above.
5. Export for Web, Print, or Clients
Export the final image in your desired format (JPG, PNG, or TIFF). You can create variants for portfolios, social media, websites, or client presentations.
What Can You Create with Blender 3D and Photoshop?
Product mockups with photorealistic lighting and branded overlays
Illustrated scenes combining 3D and 2D painted elements
Game assets with texture painting and refinement
Concept art using 3D base renders with 2D enhancements
Motion graphics when paired with After Effects
Useful Tips for Seamless Integration
Keep your resolution high in Blender for detailed editing later
Use render passes for more control in Photoshop
Work in layers for easy adjustments and retouching
Take advantage of Photoshop’s Camera RAW filter for cinematic effects
Use Smart Objects for non-destructive editing of imported render layers
Recommended Add-ons and Plugins
For Blender:
BlenderKit– Free asset library
BoxCutter / Hard Ops – Great for hard surface modeling
Node Wrangler – Speeds up shader creation
For Photoshop:
PixelSquid Plugin – Add 3D objects directly into Photoshop
Nik Collection – Pro-level color grading tools
Realistic texture brushes – For surface details and overlays
Final Thoughts
Blender 3d and Photoshop might come from different worlds—one from 3D, the other from 2D—but together they empower you to create stunning, professional visuals. Whether you’re a graphic designer branching into 3D or a 3D artist polishing your portfolio, mastering this combo can take your work to the next level.
Stay creative, experiment with workflows, and let your tools complement your ideas—not limit them.
After editing your Blender renders in Photoshop, elevate your presentation with our Premium PSD Mockups and Animated Templates — perfect for professional, photorealistic results.
Frequently Asked Questions
1. Do I need a powerful PC to use Blender and Photoshop together?
While both tools benefit from strong hardware, you can still work on mid-range systems by optimizing settings like render resolution, using proxies, and managing layers efficiently.
2. Can I texture 3D models in Photoshop directly?
Yes. Photoshop has basic 3D painting tools and UV editing, but for complex workflows, it’s better to texture in Blender or use a dedicated texturing tool like Substance Painter.
3. Are there any file formats that work best between Blender and Photoshop?
Use high-resolution PNG, TIFF, or EXR files for exporting renders from Blender. These preserve transparency and detail for better post-processing in Photoshop.