Mockups are essential for showcasing designs in a professional and realistic way. Whether you’re a beginner or an experienced designer, knowing how to customize mockups efficiently can save time and enhance the presentation of your work. In this guide, we’ll walk you through the process of editing PSD mockups step by step, from basic edits to advanced techniques.
Step 1: Choosing the Right Mockup
Before customizing a mockup, it’s crucial to select a high-quality PSD file that suits your project. Look for:
High resolution (at least 4000×3000 pixels for sharp details)
Well-organized layers for easier editing
Smart Objects to quickly replace designs
Isolated elements for more control over customization
At ModernPSD.com, we offer premium mockups with these features to ensure smooth editing.
Step 2: Opening the Mockup in Photoshop
Open Photoshop and load the PSD file.
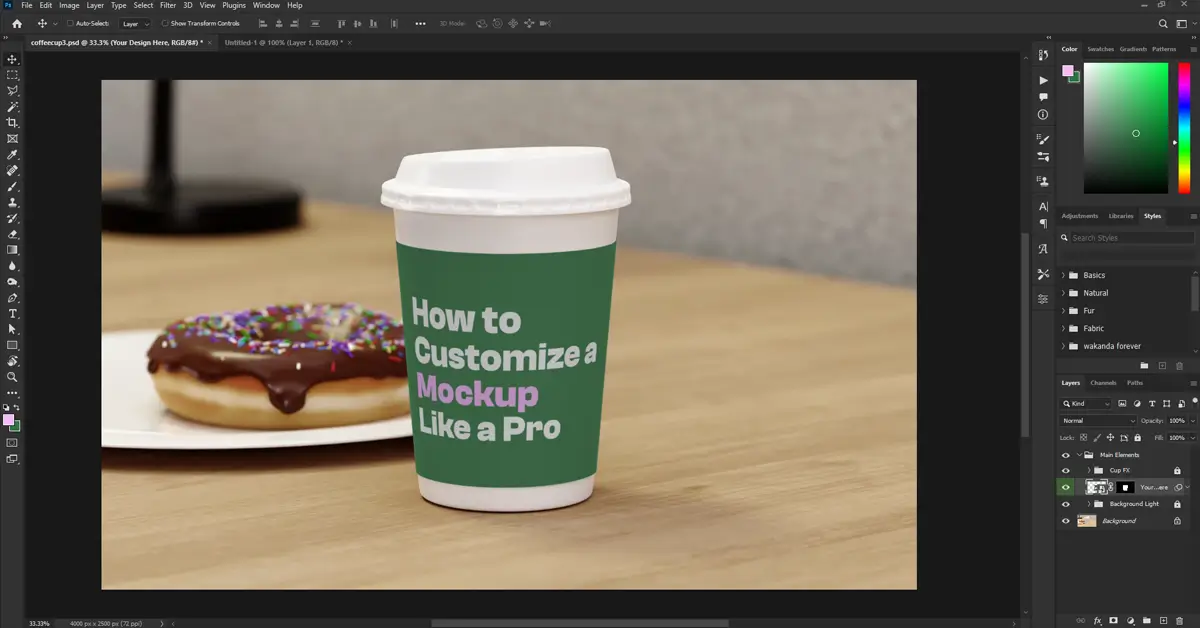
Navigate to the Layers Panel to familiarize yourself with the structure.
Identify the Smart Object layer (usually named ‘Your Design Here’ or ‘Replace Me’).
Step 3: Replacing the Design
Double-click on the Smart Object thumbnail.
A new window will open with the placeholder design.
Paste your artwork or drag in your design file.
Resize and adjust the design to fit properly.
Save (Ctrl + S / Cmd + S) and close the Smart Object window.
Your new design will automatically update on the main mockup.

Step 4: Adjusting Shadows and Highlights
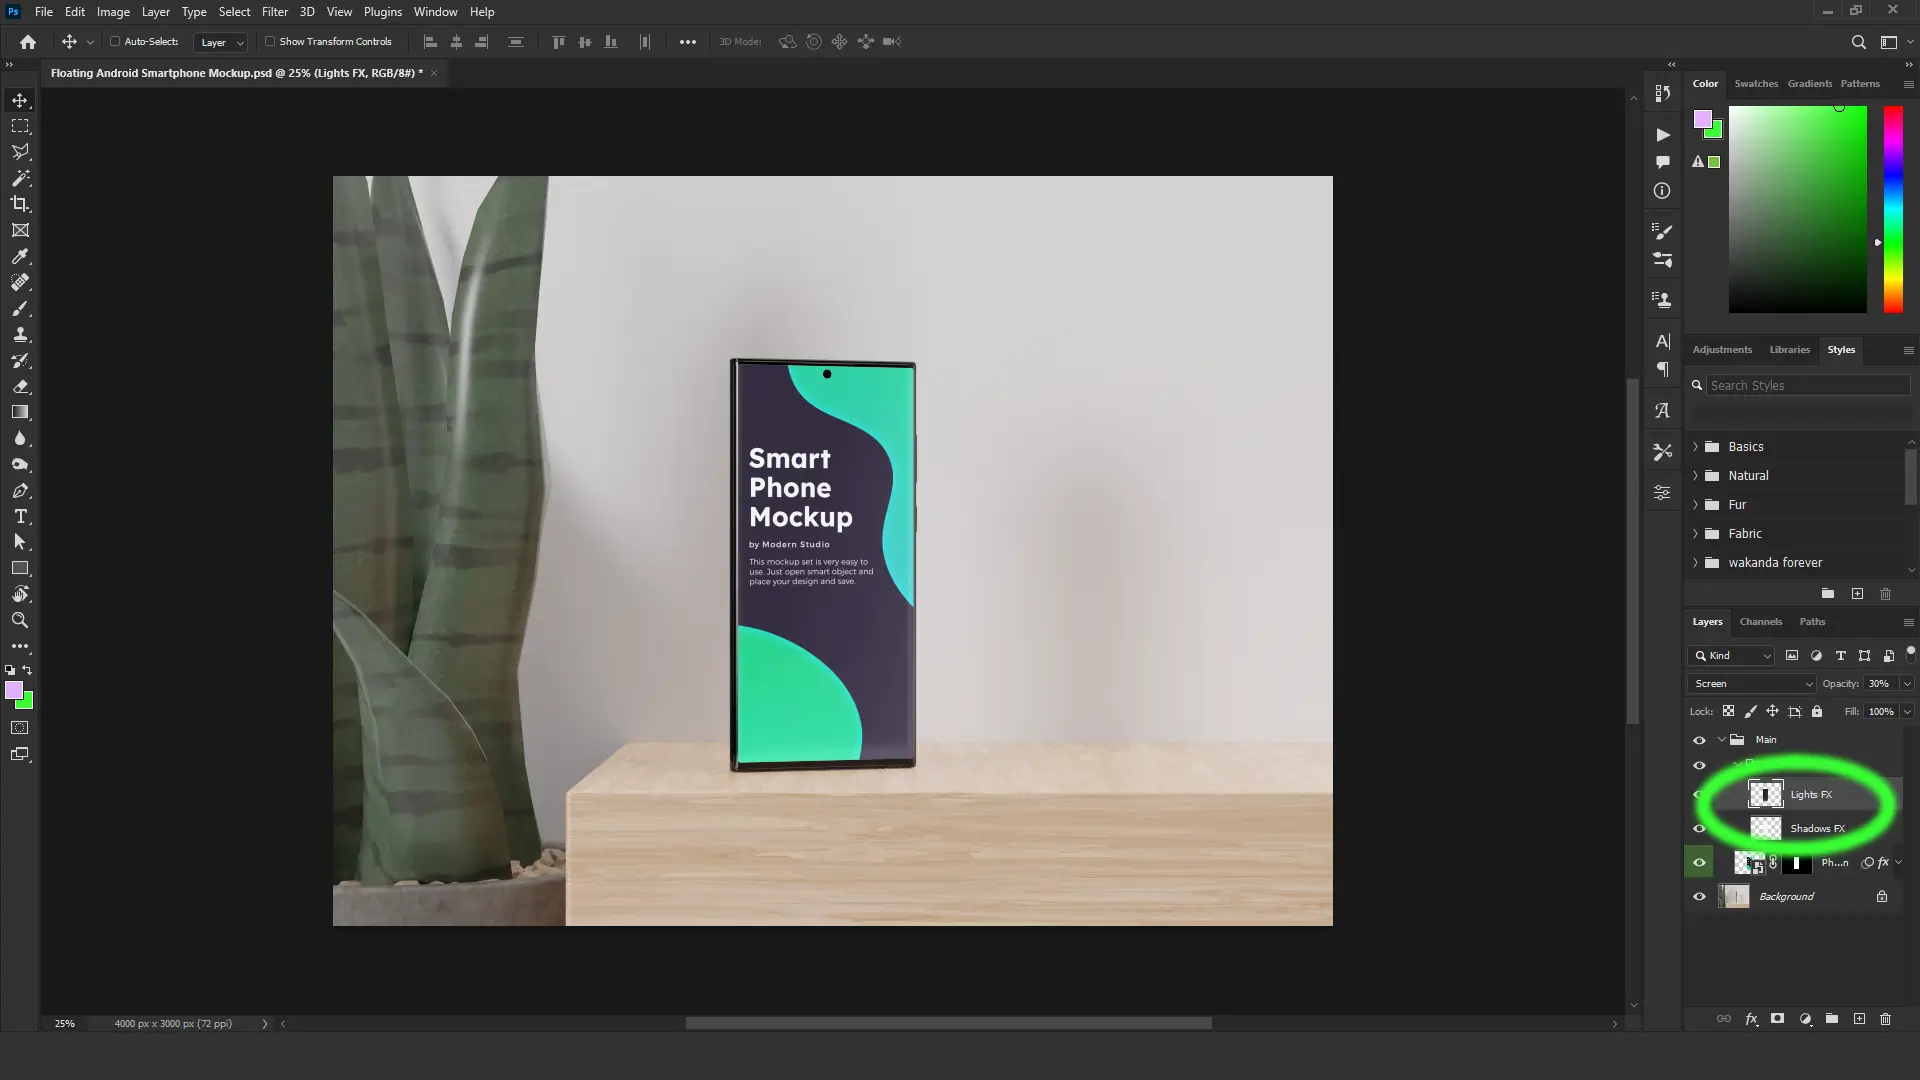
Find the Shadow and Highlight layers in the Layers Panel.
Adjust the Opacity to control intensity.
Use the Brush Tool (B) with a soft black or white brush to refine shadows manually.
Modify the Blend Mode (e.g., Multiply for shadows, Screen for highlights) for realistic effects.

Step 5: Changing Backgrounds and Colors
Locate the Background layer.
Use the Fill Tool (G) or create a Gradient Layer for a unique effect.
If the background is customizable, look for an adjustment layer or Smart Object to replace it.
Experiment with Color Balance, Hue/Saturation, or Levels (Ctrl + U / Cmd + U) for color adjustments.

Step 6: Advanced Customization
1. Adjusting Mockup Textures
Use Displacement Maps to blend designs naturally with surfaces.
Apply Layer Masks to add wear and tear for realism.
2. Adding Depth with Blur Effects
Use the Blur Gallery (Filter > Blur Gallery > Tilt-Shift) to create depth of field.
Add Gaussian Blur (Filter > Blur > Gaussian Blur) to backgrounds for focus.
3. Enhancing with Lighting Effects
Add Gradient Maps for moody lighting.
Use Soft Light or Overlay blend modes to enhance highlights.
Create custom shadows using the Multiply blend mode and soft brushes.
Want to take your customization even further? Check out our 8 best Photoshop plugins and tools for mockup designers from smart object helpers to lighting and shadow automation, these tools can dramatically improve your mockup workflow.
Final Touch: Exporting the Mockup
Ensure the final design looks sharp and well-integrated.
Go to File > Export > Save for Web (Legacy).
Choose the right format:
PNG for transparent backgrounds.
JPG for compressed web use.
PSD if you want to keep layers for future edits.

Conclusion
Customizing a mockup is a skill that improves with practice. Whether you’re replacing designs, adjusting shadows, or adding advanced effects, following these steps will help you achieve professional results. For high-quality, easy-to-edit mockups, check out our collection at ModernPSD.com!
What software do I need to customize a PSD mockup?
You need Adobe Photoshop to edit PSD mockups, as it supports smart objects, layers, and blending modes for seamless customization.
How do I replace the default design in a mockup?
Double-click on the smart object layer, insert your design, save the changes, and it will automatically update in the main mockup file.
Can I change the background and lighting in a mockup?
Yes! Many mockups come with isolated layers, allowing you to customize the background, shadows, and lighting effects to match your branding.


