1. Dynamic Lighting and Shadows
Technique: Control of the dark and sun and other lighting effects are crucial to achieving well-executed mockups that seem as if they are real. Do not stick to the flat lights, but try to achieve different lighting effects in order to recreate real-life conditions. This might involve soft daylight, intense studio lighting, or colored ambient lights that match the intended environment of your design. New to mockup design? Start with our beginner’s guide to becoming a mockup designer to learn the tools, platforms, and resources you need to get started.
Pro Tip: Utilize multiple light layers in Photoshop and test different blending modes like “Overlay” and “Soft Light” to add depth. Ensure shadows and highlights align with the light source’s direction for consistency across your mockup.
Apply the “Gaussian Blur” filter to your shadow layer to soften the edges. Adjust the opacity for a subtle, realistic shadow that enhances your mockup without overwhelming it.
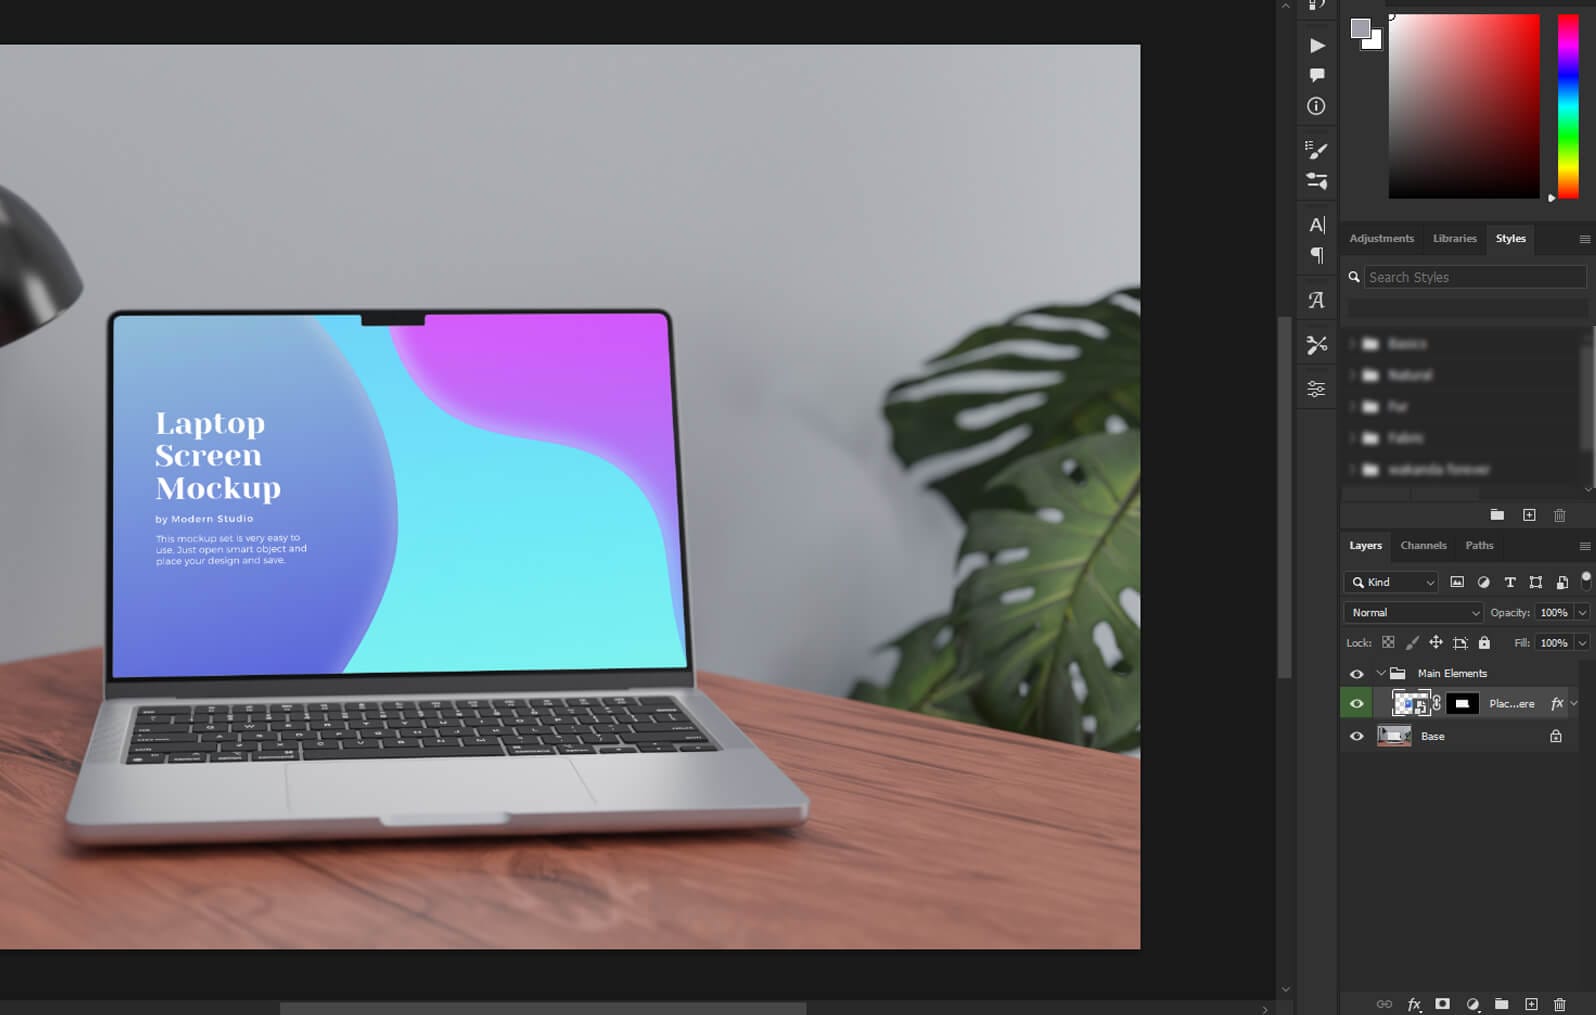
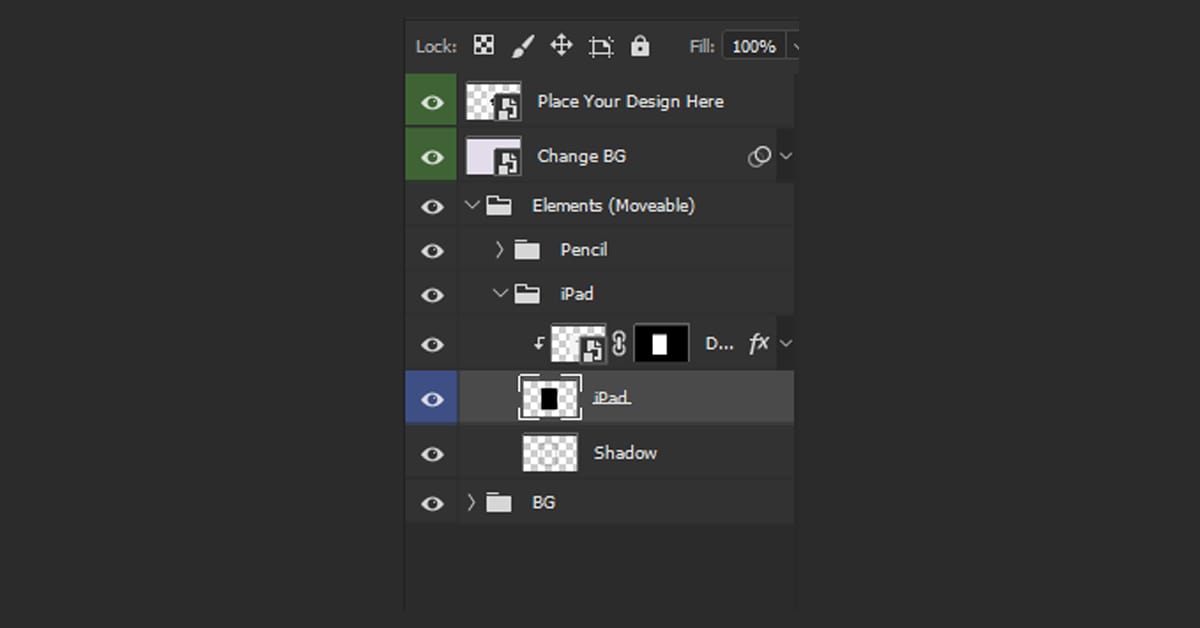
2. Smart Objects for Versatility
Technique: Smart Objects in Photoshop are indispensable for non-destructive editing, particularly in complex mockups. They allow you to update and modify design elements without altering the original mockup, making it easier to refine your work.
Pro Tip: Convert your design layers into Smart Objects before applying any filters or transformations. This preserves the integrity of your original design, allowing for easy adjustments and updates throughout the design process.
Absolutely! Smart Objects work well with 3D elements, allowing you to update content within 3D objects easily, which streamlines your workflow and keeps your designs fresh.
Apply the “Gaussian Blur” filter to your shadow layer to soften the edges. Adjust the opacity for a subtle, realistic shadow that enhances your mockup without overwhelming it.
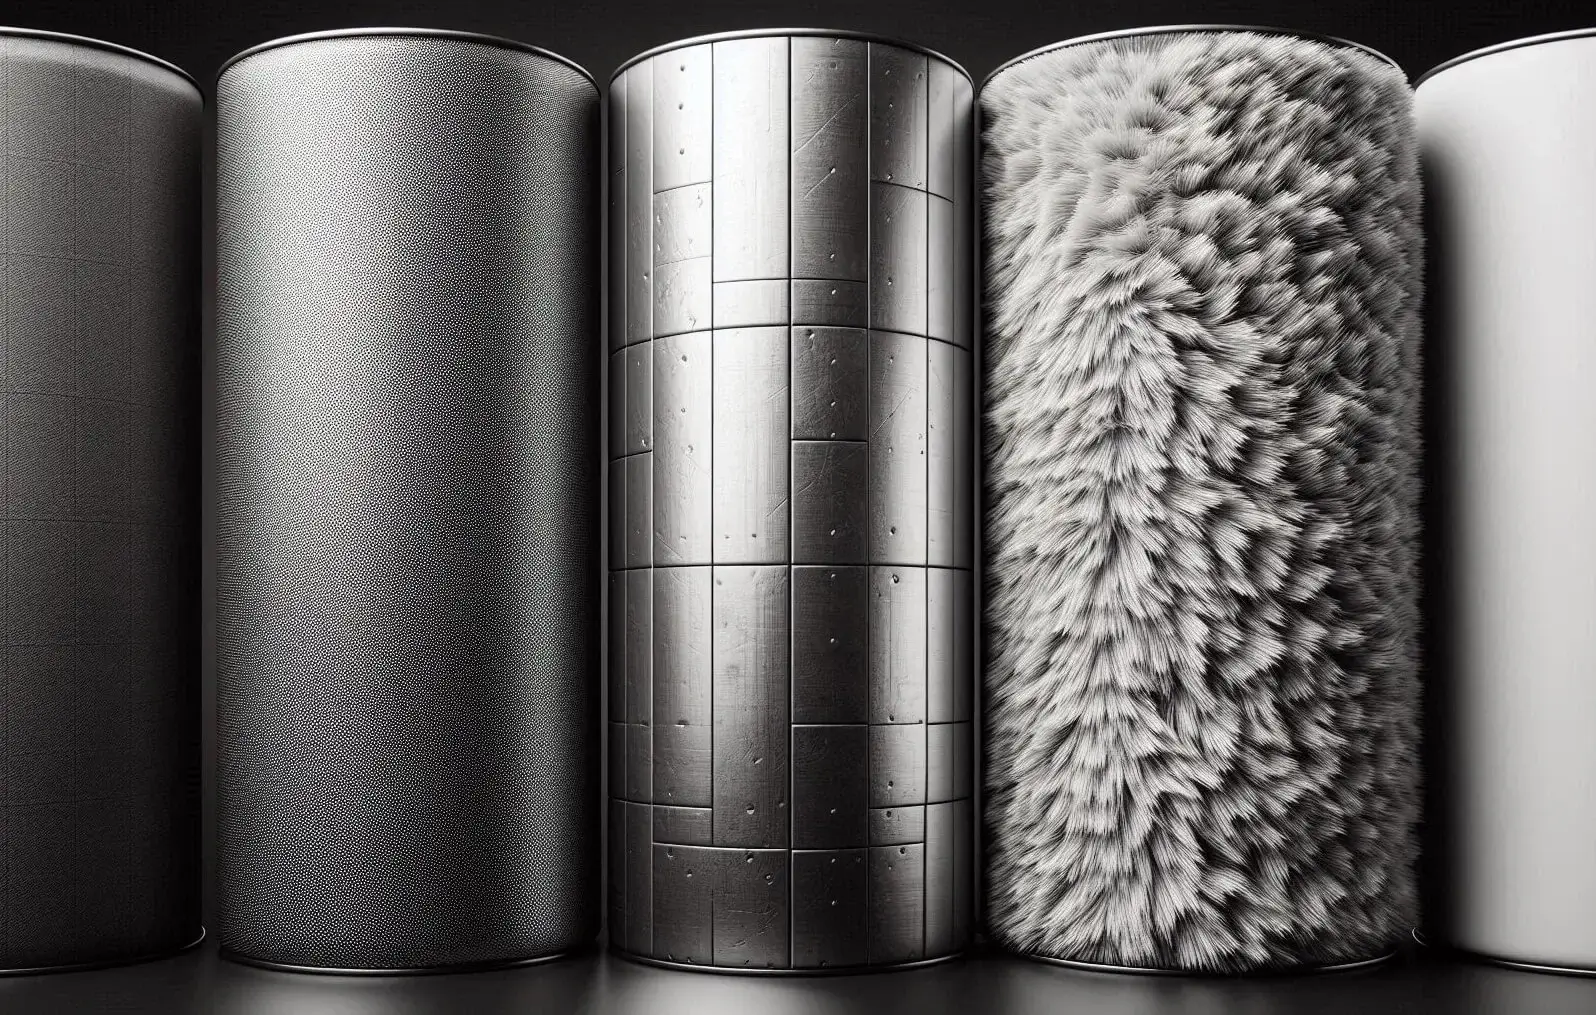
3. Realistic Textures and Materials
Technique: It is a wise decision to put realistic texture and material onto your mockup designs. Whether you’ve got a texture for a fabric of clothing or a metallic sheen for a box or any other type of packaging – excellent quality of the texture will impart a rich, visual and haptic feel to your mock up.
Pro Tip: Place high resolution textures and then employ the “Displace” filter available in Photoshop to properly position the textures on the contours of the design. Further amplify the appearance of a material by applying the layer styles such as ‘Bevel & Emboss’ Styles or ‘Pattern Overlay’.
Adjust the texture’s opacity and use blending modes like “Multiply” or “Overlay” to integrate the texture subtly. This approach ensures the texture complements rather than dominates the design.
Stock sites focus on selling individual assets such as stock photos, vectors, and mockups. Here are some top stock sites where you can sell your mockups:
4. Advanced Layer Masks and Clipping Masks
Technique: Layer Masks and Clipping Masks are crucial for creating complex mockups with precise control. They allow you to hide or reveal portions of layers and apply effects selectively, enhancing the overall design without affecting the entire mockup.
Pro Tip: Employ Layer Masks for smooth transitions between elements and Clipping Masks for applying effects to specific areas. These tools help maintain a clean and controlled design, giving you flexibility in your mockup presentation.
Use Layer Masks for hiding or revealing part of the layer but with non destructive approach. Clipping Masks are most suitable to apply alterations or effects that need to be applied on single layers or group of layers without affecting other layers.
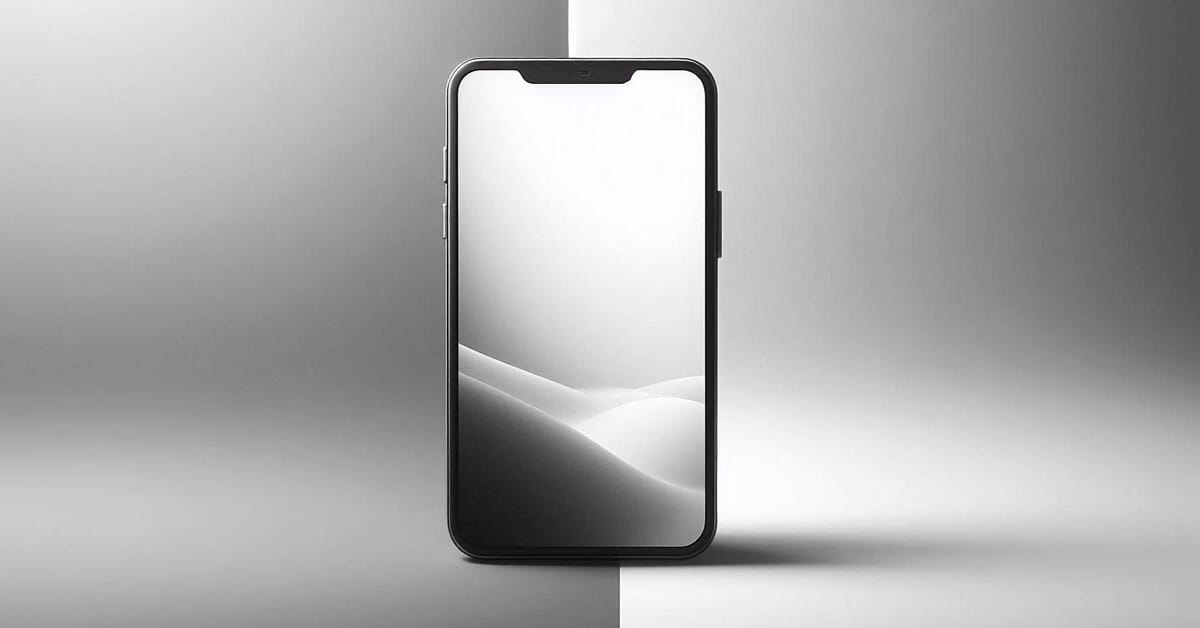
5. Perspective and Distortion Adjustments
Technique: Incorporating perspective and distortion adjustments can significantly enhance the realism of your mockups. Whether working with a billboard design or a 3D product display, aligning the perspective correctly adds a professional touch.
Pro Tip: Utilize Photoshop’s “Warp” tool and “Perspective” transformation to adjust your design’s angle and shape. This technique helps match your mockup to the real-world scenario, improving its visual impact.
Work with high-resolution images and convert layers into Smart Objects before distorting them. This preserves the quality and allows for adjustments without loss of detail.
Conclusion
By mastering these advanced mockup techniques, you can create stunning, professional-grade designs that capture attention. These techniques like dynamic lighting, or realistic texture, perspective changes will in fact help improve your mockup skills. Experiment and explore the limits with Photoshop and try to achieve the highest possible. Follow our instructions to learn more about advance mockup techniques Keep designing and innovating!
Download our business card mockup and experiment with it to learn more about the mockup design workflow.